Matte Painting Study
Week 2, Rough Design and Layering Elements
Last week was a busy week with other project. I didn't have the time to work on my blog. Next week I will be posting two blog post during the week to make up for the time. This weeks blog I am working the rough design and layering of my still images. Here are some photos to explain my steps.

Step One
Add a gradient layer to you background. Use your Gradient Tool and set the colors to black and white. Then change your opacity down and drag it from the darkest point in your picture to where the sun is going to be.

Step Two
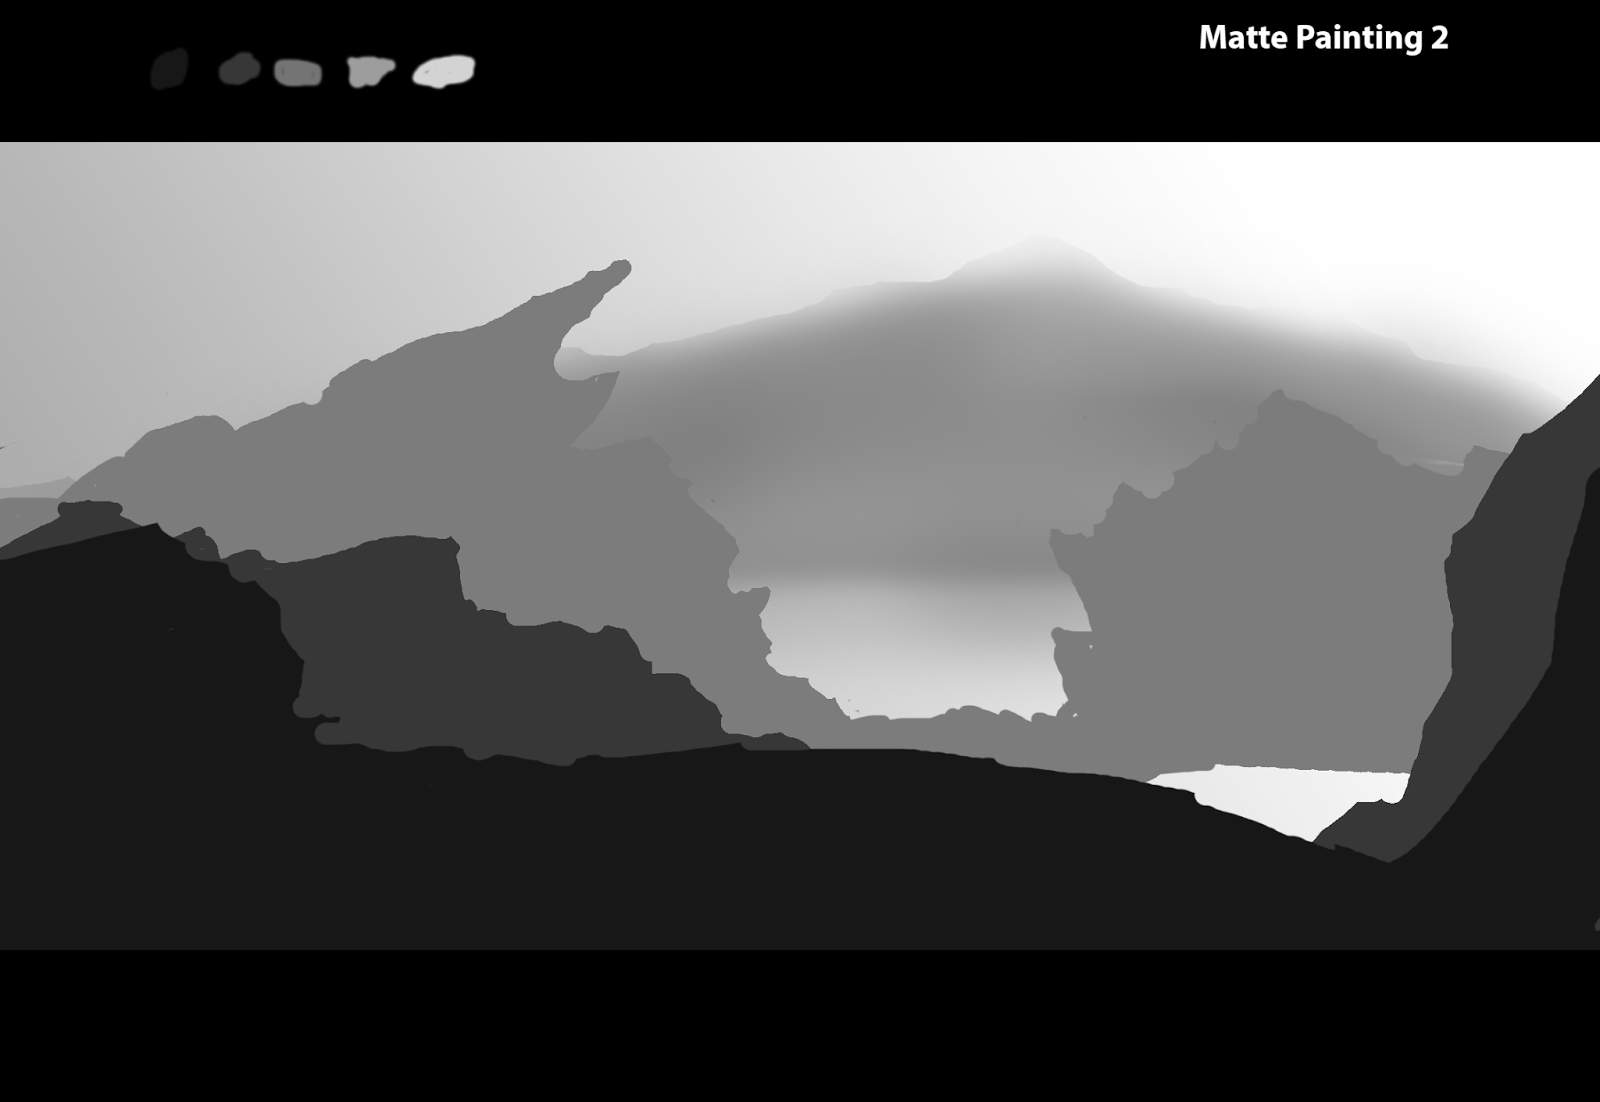
The first make a selection panel of colors on you black boarder. This will help you select your colors easier later on. You can now start to color you mountains in the background. After you have created your shape for you mountains you can then use your brush tool too lighten your mountains. To do this you must change your settings on your brush tool. Change your hardness to 0% then change you flow to about 50 and turn down your opacity. You can mess around with setting to get the look you were going for. Make sure you do this on another layer so you can have more room for change later on.

Step Three
You will do the same as you did in step two. But this time change your brush size a little smaller to get more detail in you mountains.

Step Four
Repeat step three and use the same techniques.
Step Five
Repeat steps and use the same techniques as before and keep changing you color darker the closer you get to the foreground.

Step Six
Here in step six i went back and adjusted my fog and light on my mountains to give it a better look and feel.

Step Seven
Optional step is to add light rays to your scene. Here you can creating a new layer on top of all your other layers in Photoshop. Your you brush tool with the same setting you did to create light on the mountains. Adjusting and making your brush bigger or smaller sometimes will create a better effect. Play around with sizes until you find something you like. Click and drag from the sun to the direction you want you light rays to go. Playing around with the layer opacity will help this step.

Final Step and Result
Here you can add lines in the sky so you don't forget to add clouds later on. You don't need to do this step but is a good reminder for you later on.


